
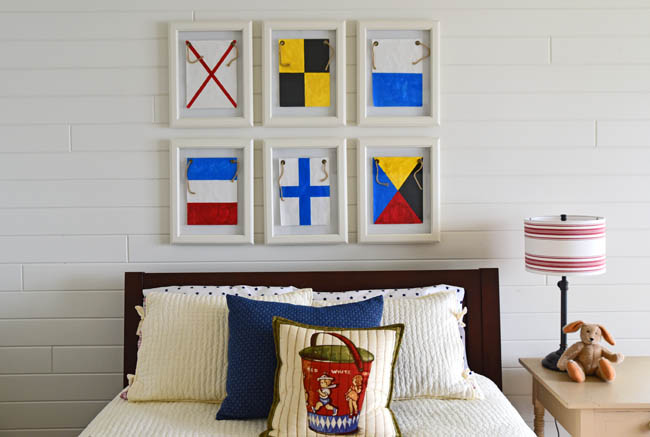
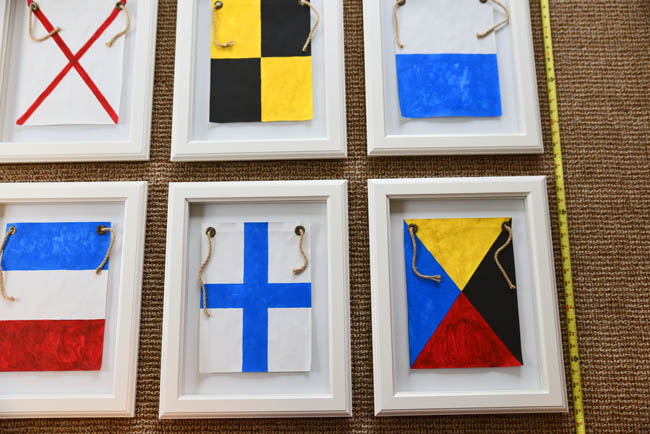
The subject of the “Leisure” post a couple of weeks ago was Flag Day (link here), where a friendly family competition resulted from my initial thought of having Taylor help me with a décor idea I had for the cabin. A few crafting evenings later (over the course of a couple of weeks when I found some hours here and there) and the project is finished. Although this DIY doesn’t exactly fall into the quick and easy category, I really love the result. Please don’t dismiss it based on the number of steps – it really doesn’t take that long and it’s worth it! Visually it’s bright and cheery and fills a large space well. Taylor loves it because he was the one to paint the flags and now they’re on display at the cabin – and not just on the refrigerator. Materials and steps are detailed below. Also, note that if you like the look but don’t have the time and happen to have the budget, there are plenty of great framed options out there for purchase, like these from Pottery Barn (link here). But at $199 a piece (so approx. $1,200 plus shipping for the complete look), going the DIY route was an easy decision for me. All in the project below cost about $150 (presuming you have some tools on hand).
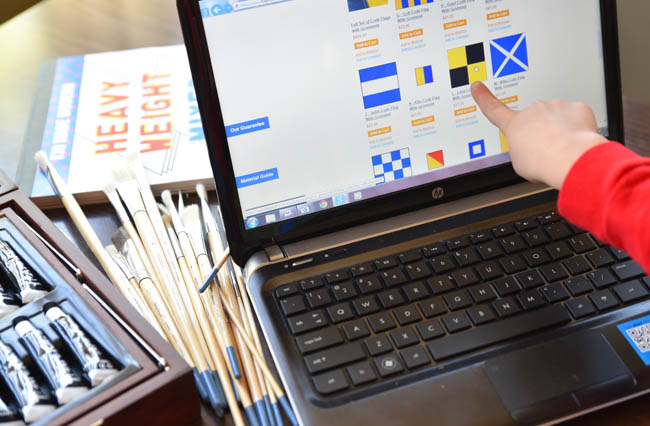 Step 1: Pick out the nautical flags you’d like to replicate. There are many resources online, but here is a handy link for easy reference.
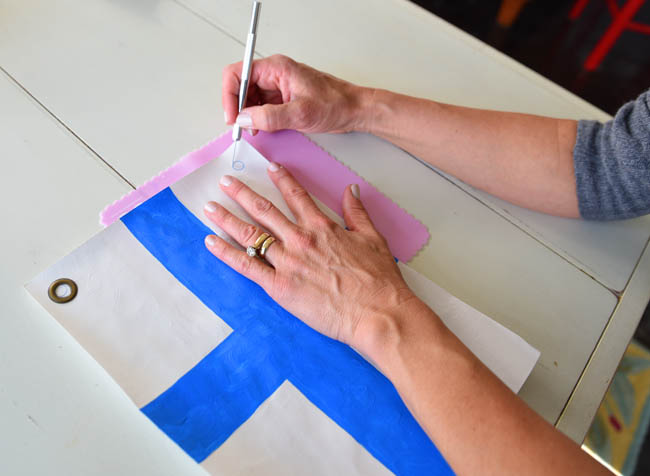
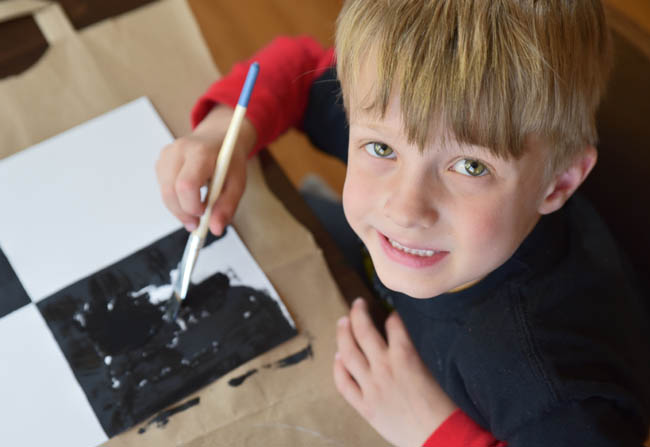 Step 2: Using heavy weight paper (I used paper knowing that it would curl a bit once painted, because I thought it would mimic the appearance of fabric once mounted in the frame) trace out the borders for the colors in the flag’s design and fill in using acrylic paint. Having a little helper is nice for many reasons, but I especially love how the childlike brushstrokes are so perfectly, well, childlike. I would have obsessed a bit too much about whether they appeared uniform and not gotten the same result.
Step 3: Allow the painted flags to dry for at least a day, then place in between the pages of a large book to help diminish some of the curling that will naturally happen with the paper.
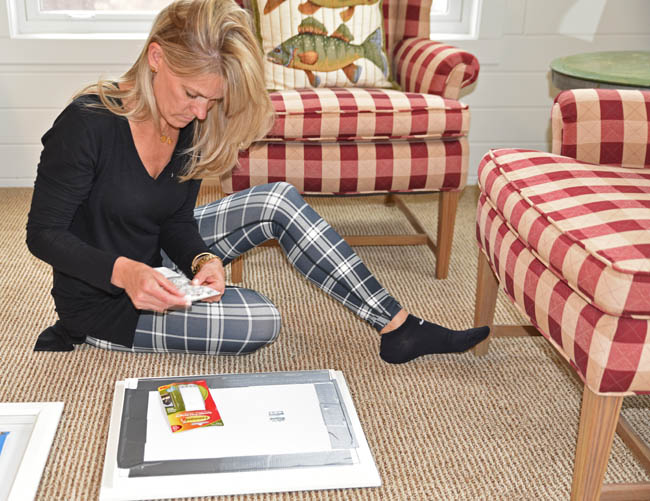
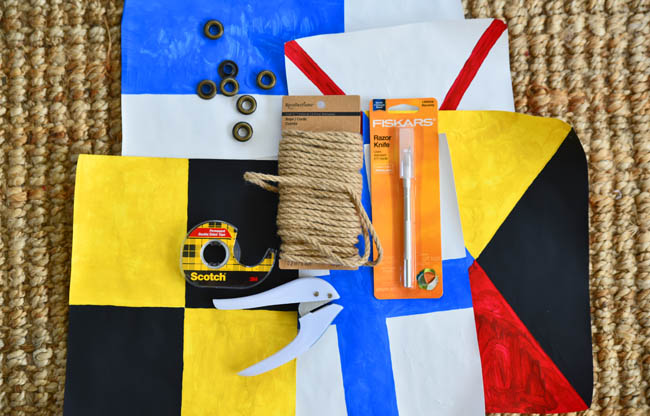 Materials Needed once your flags are finished: Flags; double-sided permanent tape; rope; grommets; razor knife; frames (below) and spray paint (only needed if you wish to modify the color of the mat). Skip the paper punch (pictured) but do have handy a hot glue gun; painters’ tape; 3M Velcro hanging strips; measuring tape; a hammer and thin nail; as well as some duct tape (not pictured). Sorry, sometimes I modify how I want to approach a project after the “materials” picture is taken. ( :
Note that some of this is optional and up to personal choice. I had a very specific finished product in mind and therefore wanted to incorporate the grommets and rope and to mount them in a frame where they would have nice dimension, almost as if in a shadow box. But you could easily eliminate some of these steps if you wanted to simplify the project (and minimize some of the expense) by framing the flags without the rope and grommet in a regular frame.
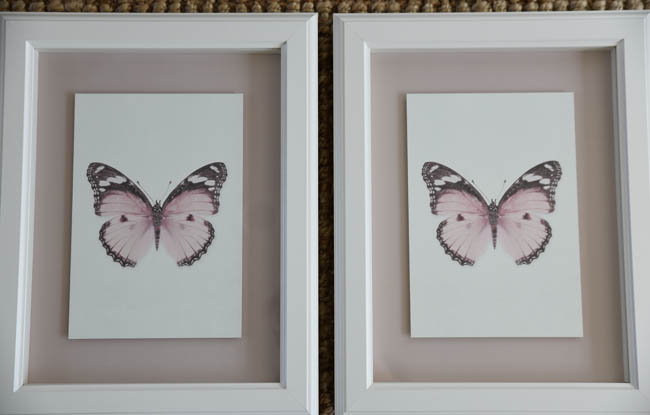 I chose these frames from Ikea (link here) because they had a lot of the work done for me, having the mounted image of the butterfly, which I knew could serve as the base on which to secure the flag and give it a floating effect.
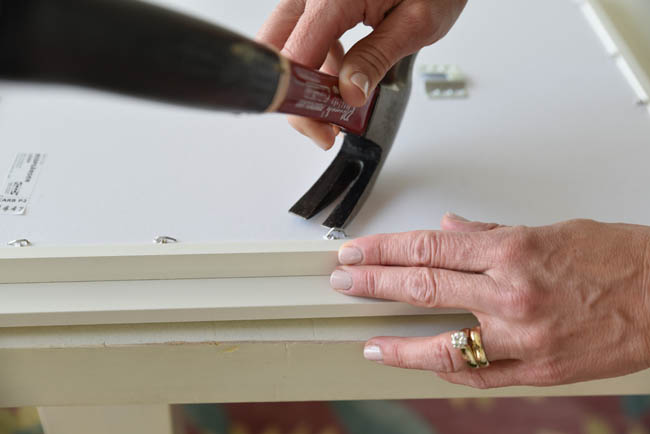
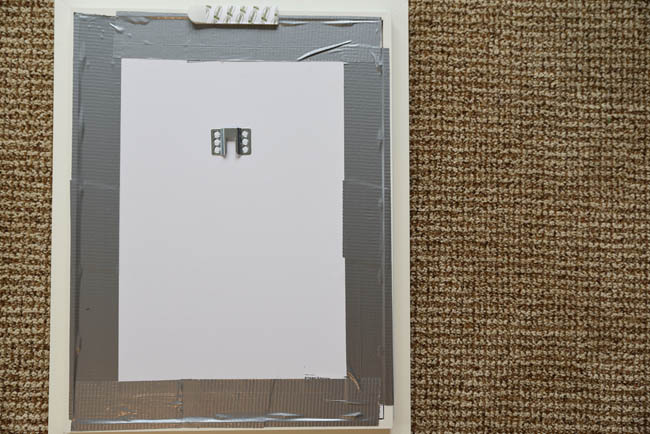
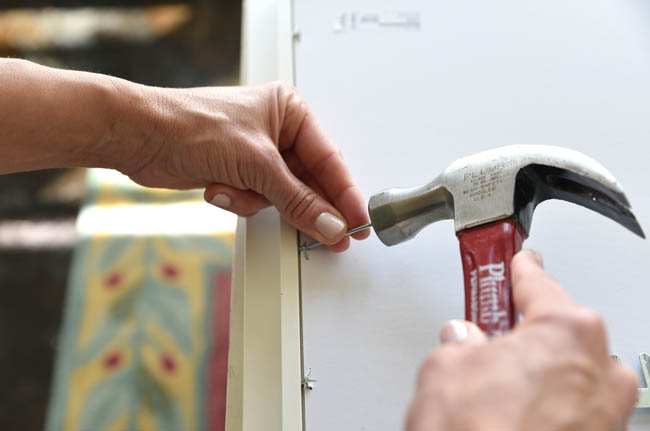 Step 4: Disassemble the frames. This is the most tedious part of the project, as those Ikea folks sure were happy with the staple gun on these. After trying a couple of different methods, the best route is to use a thin nail with a hammer to loosen the staples (pictured above), then pry them out with the claw of the hammer (pictured below). You may find you have some stubborn pieces of the staples, which can be taken care of with a needle-nose pliers.
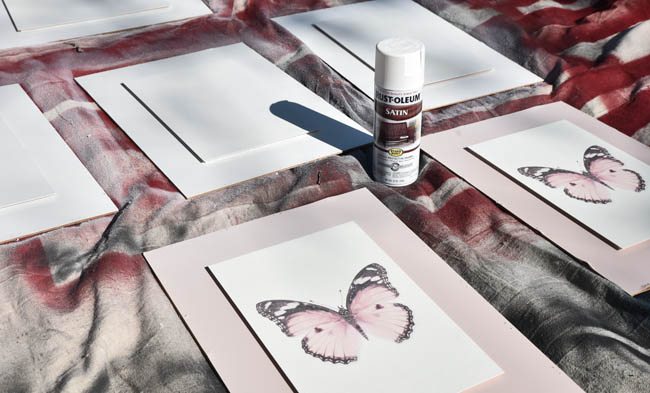 Step 5: Paint the mats (if desired). The bottom mat was a taupe color that didn’t work well with the flags, so I spray painted them ivory to blend with the frame and the wall. The mat is glossy so didn’t soak up the paint, which worked well. Give them a second coat if needed once dry to the touch, then let completely dry (which happens in a matter of a few hours).
 Step 6: Position the grommets. Trace the interior of the grommet and cut out the circle using a razor knife. Secure the grommets with a dab of hot glue.
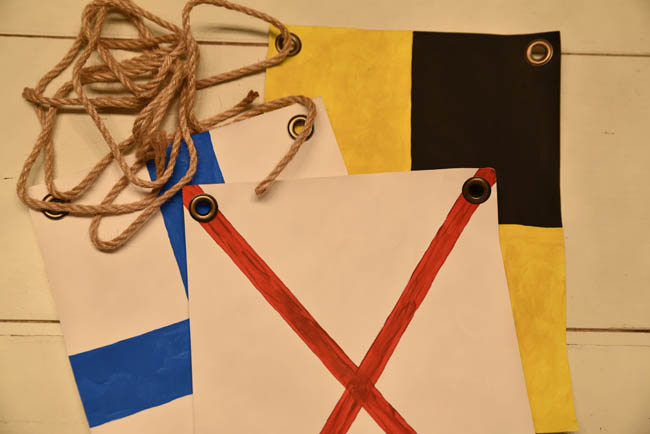
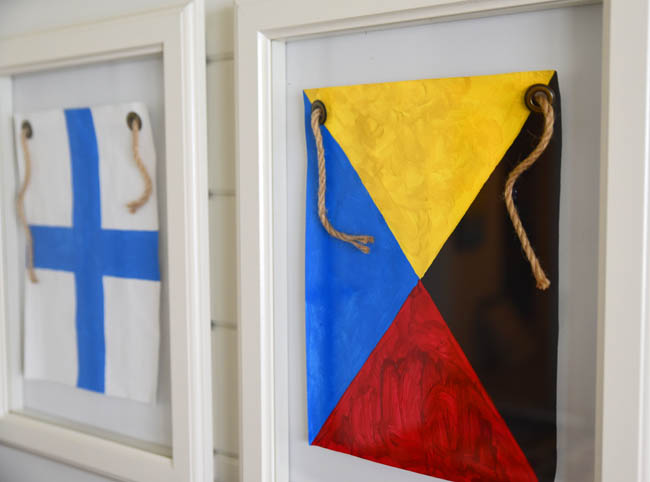
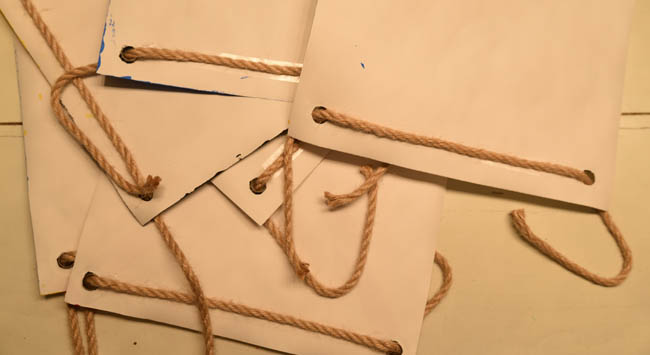 Step 7: Thread the rope through the back of the flags. On the front of the flags secure the rope in varying positions with a dab of hot glue.
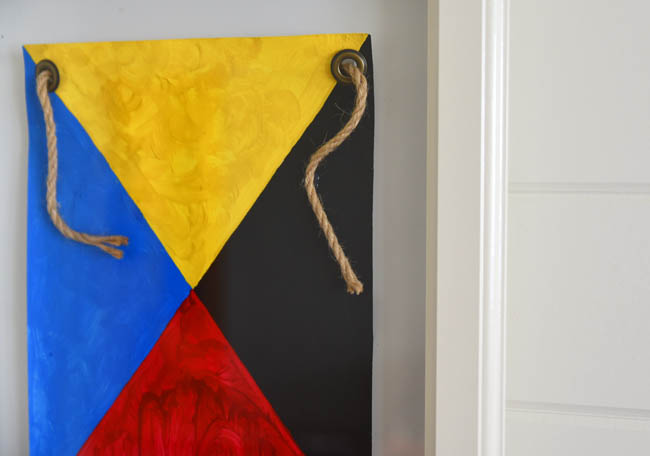 Step 8: Secure the flags to the top mat (where the butterfly appears, in my example) using double-stick tape. I used tape instead of glue as it is less likely to pucker over time and when exposed to the varying temperatures you can have in a Minnesota cabin.
 Step 9: Secure the mat to the back of the frame using duct tape. I know, it’s pretty high class. But I tried to use tiny nails and was certain I was going to crack a frame. Plus, I almost always need to reposition things in frames, or clear out a spec of something or other, and this is a much easier way to go about it if you need a re-do.
 Step 10: Position the 3M Velcro hanging strips according to the directions. I started using these only recently (for blog projects, mostly) and have become a huge fan. I love using them instead of nails. There is some added expense of course, but the benefits make it worth it. They are particularly useful when hanging a grouping of photos, since you can easily reposition the frame if needed.
 Step 11: Determine the layout of your flags on the floor. Both the order of the flags, as well as the spacing. Measure to make sure that it works on the wall – particularly if you need to be considerate of other factors like I was, with the bed underneath. Using painters’ tape, mark where you want the pictures to be and transfer the tape to the wall.
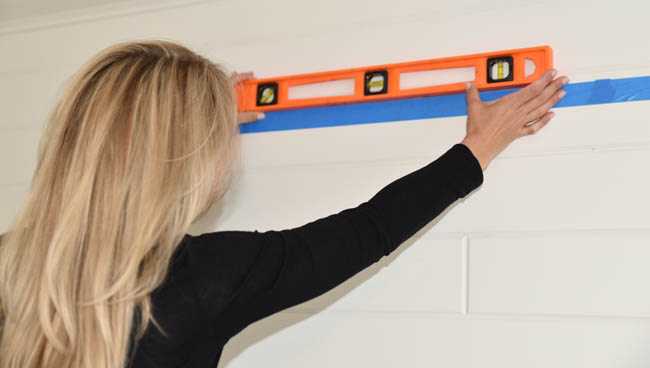 Step 12: Make sure the placement of the tape is level, then begin to place the frames on the wall.
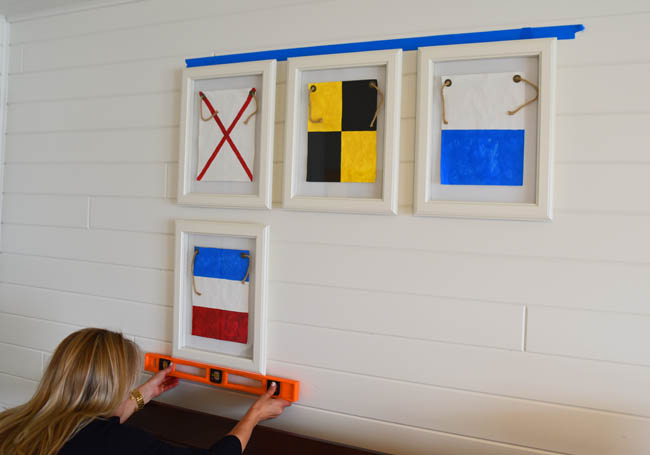 Step 13: Place the top frames before moving to the bottom. It goes quickly at that point if you have the top frames as a guide. Check with the level throughout the hanging process.
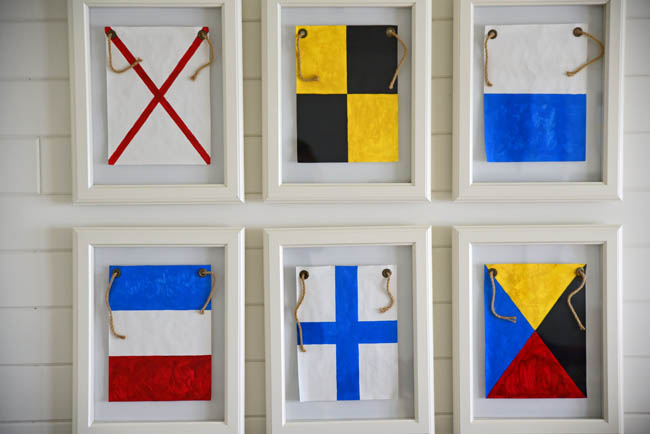 Reality Check. If you are wondering, no, I didn’t check the meanings of all the flags (not until writing this Reality Check, actually) – you may recall that Taylor started by picking letters of his name, then moved to ones that looked easier to paint. The full message (which is kind of hilarious – especially certain ones considering that they are positioned right above the bed) reads: “Require assistance | You should stop, I have something important to communicate | Diver below (I am undergoing a speed trial) | Do not pass ahead of me | Stop carrying out your intentions and watch for my signals | To be used to address or call shore stations.” Clearly I didn’t know the meanings, as that last one is completely boring, and there are so many other interesting messages from which to choose (see link).
Sara
May 15, 2015 at 7:13 am (9 years ago)These turned out so amazing! I love them!
Kerry
May 15, 2015 at 8:54 am (9 years ago)Thanks Sara! I need to turn my attention to our bedroom now, which is starting to feel like a college dorm room in comparison to this bedroom!