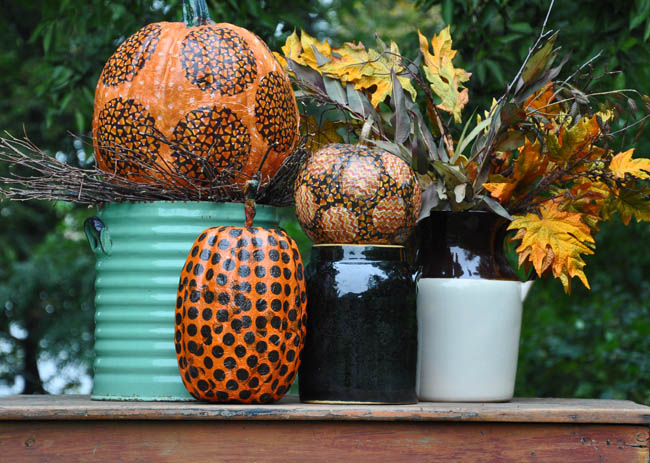
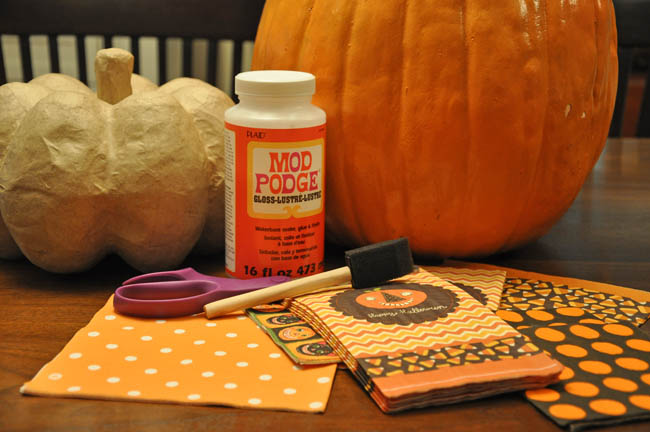
 Materials you will need: artificial pumpkins – I used “Funkins” (online here and in craft stores) and/or paper mache pumpkins; paper; scissors; Mod Podge; and one small brush. I used fall-themed paper napkins for this project – inexpensive and easy to work with, and the extras will come in handy for any fall entertaining you may do.
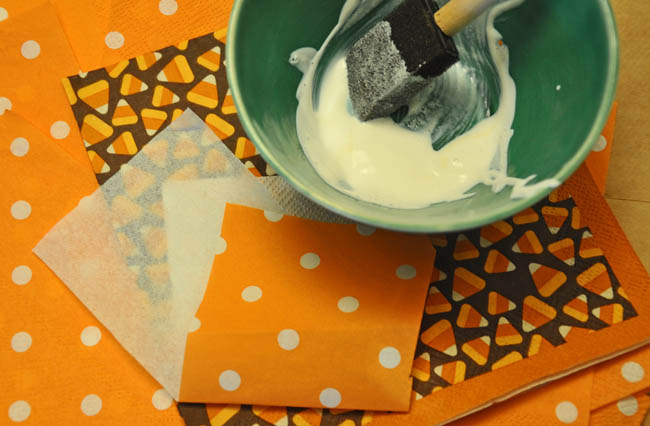 Remove the backing from the napkins (most napkins are 2-ply) so that the paper is quite thin. Cut the napkin paper in strips.
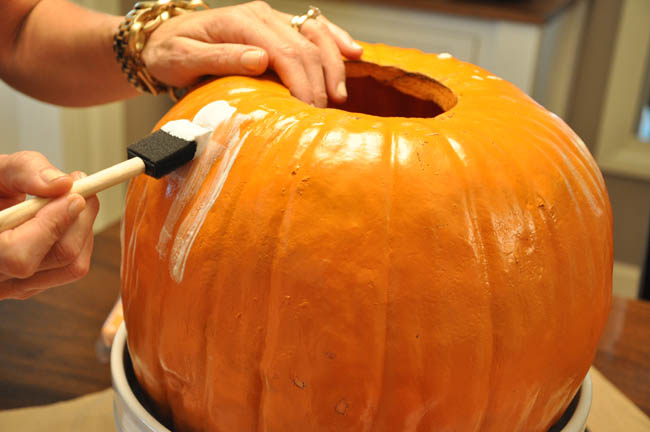 Put a thick layer of Mod Podge on the pumpkin. I like to work in halves and place the pumpkin in a bowl so that it is propped up – once one half is done and dry (with paper adhered), flip over to do the other half.
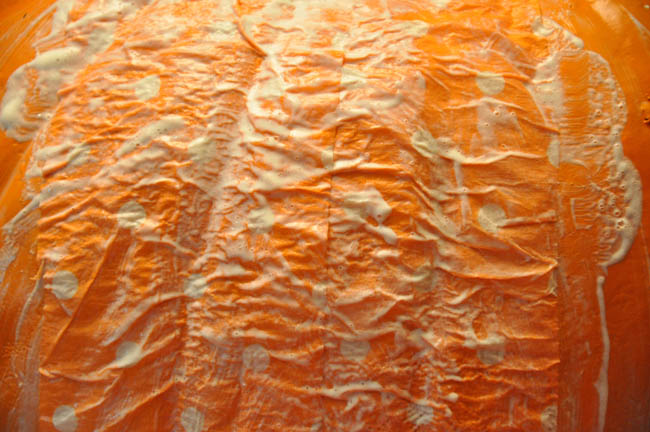
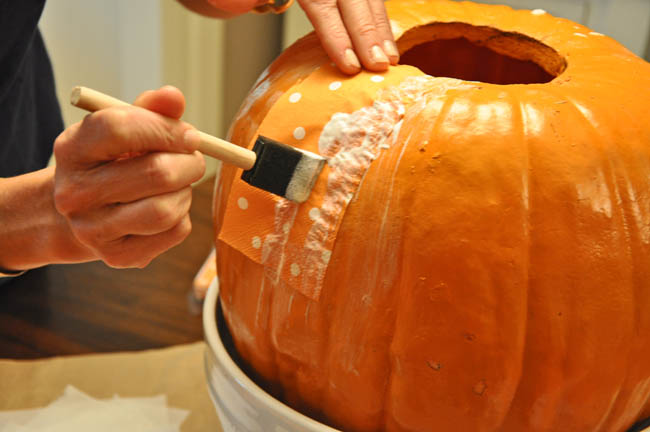 Layer a strip of paper on the pumpkin and apply another coat of Mod Podge on top. Press the paper into the grooves of the pumpkin with the tip of the brush to push out any air bubbles. Repeat until complete. As shown in the picture below, the paper will look pretty wrinkly and it will be hard to see how it could ever turn out looking put together, but it will.
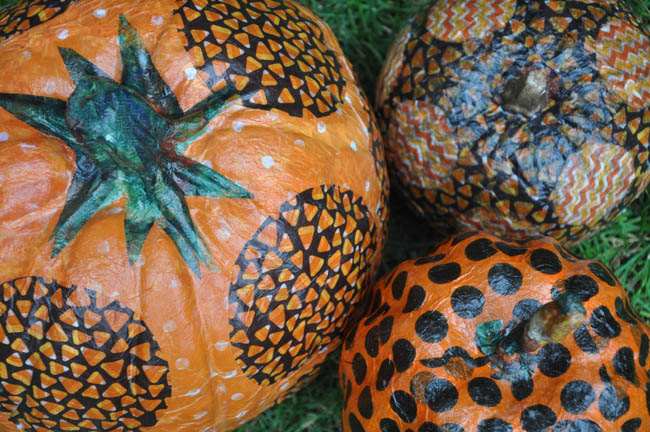
Once you have a base layer of paper, feel free to layer on another for a contrasting polka dot design, as done with two of the three pumpkins above.
Reality Check. I note that this process is relatively quick and easy and a good one to do with kids. It’s also a good project to do with your mom while the kids watch Frozen. I can attest to the latter approach.

Pat Beatty
September 26, 2014 at 11:58 am (10 years ago)Very cute! Now all I need is your mother and those napkins 🙂
Tracey
September 26, 2014 at 8:20 pm (10 years ago)SO cute!