
Materials needed: Envelopes (24, multiplied by the number of children – if you want a separate envelope for each); decoration for the envelopes – including letters and numbers; sturdy branches/twigs; twine; pom pom trim; clear 3M Command hooks; hot glue gun; paper punch; scissors; and various small treats to fill the envelopes.
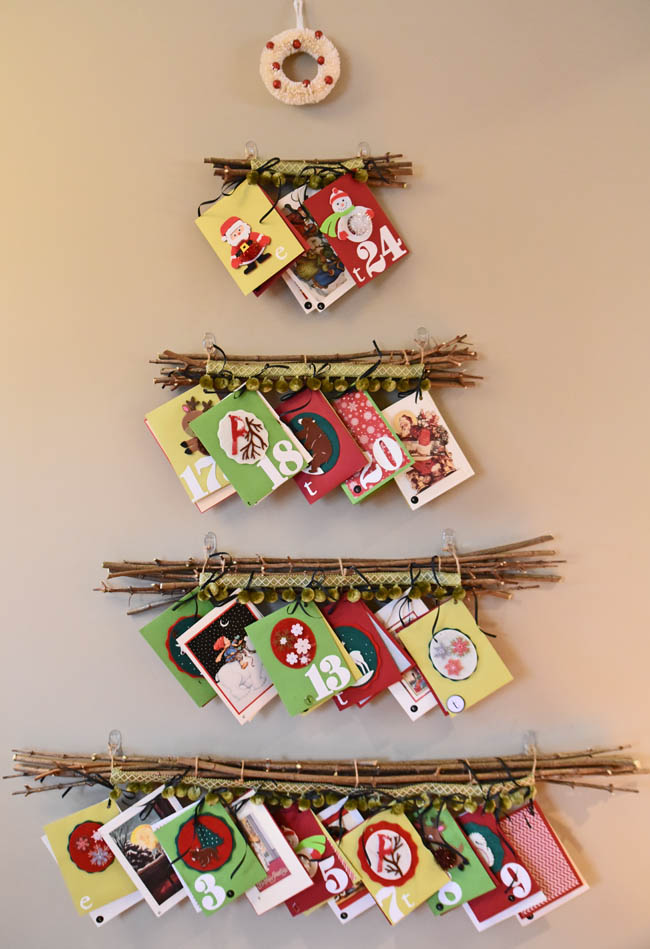
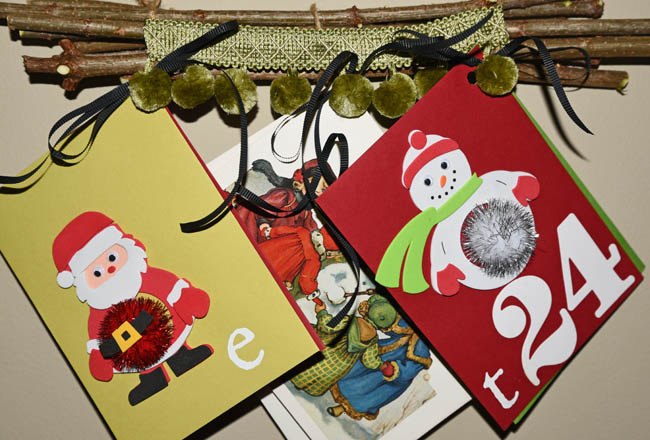
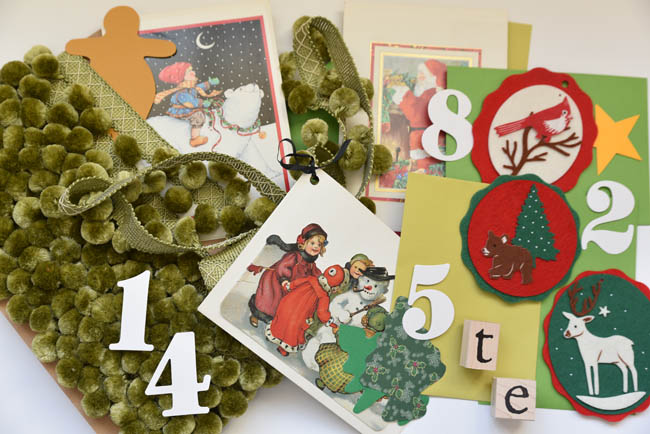 Start by decorating the envelopes. My mom did these for me, and used a variation of cutouts from old Christmas cards, Martha Stewart craft supplies, and decorative scraps of paper. We then used stamps and stickers of various styles and sizes for the “T” and “E” to identify the envelopes. We included numbers for some, but not all, of the days. I would like to say it was intentional to add visual interest and variation, but it was actually because we ran out of them. In the end, I do like the look of not having numbers on each envelope. Punch a hole in the top corner of each envelope. We spread them out on a large table so we could ensure that the color mix was eye catching, and that we alternated between who had the top envelope verus the bottom (key when you have two kids!). I would advise planning out this project as much as possible before hanging it on the wall. With a lot of projects I tend to skip those steps in favor of winging it and getting things done quicker, but planning ahead is key to the success of this.
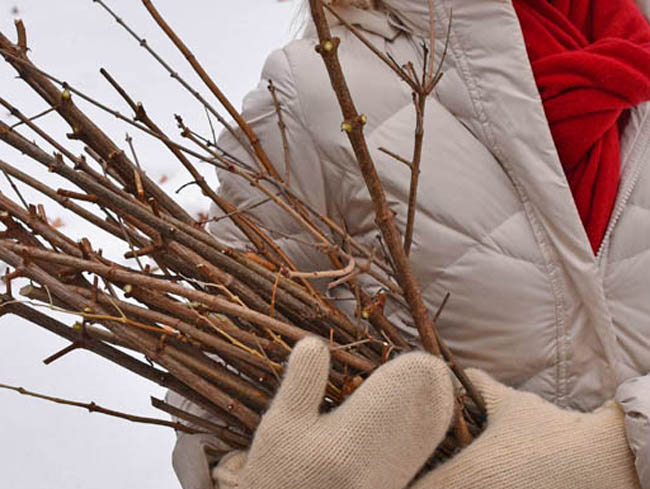 Gather twigs (you can also purchase these at several types of retailers, especially during the holidays). I cut the twigs from our hydrangea bushes outside, and was happy that my procrastination (well, and pretty much total failure) to trim back this fall resulted in something good!

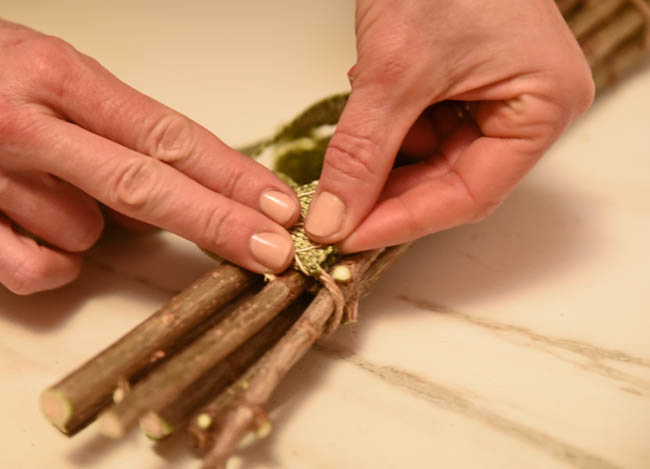
Bind the tree branches together using twine, and put a dollop of glue on the back side, to ensure the braches don’t shift and loosen the hold. Taylor lent a hand (literally) as I tied these together.
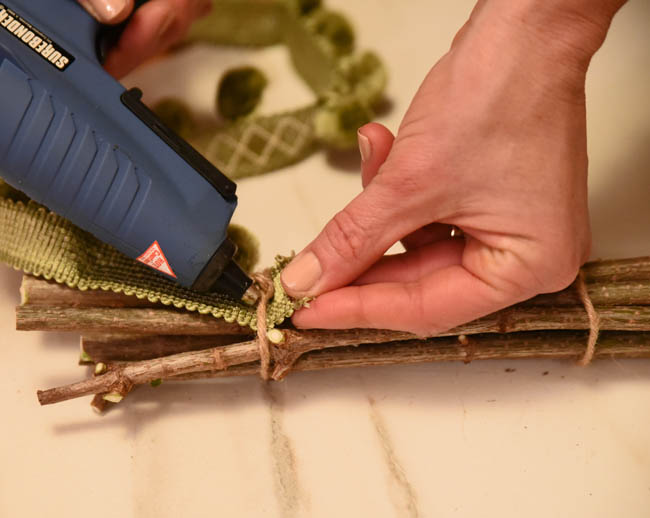 Tuck the pom pom trim under the twine tie at the end of the branches and glue it into place.
 Loop the pom pom fringe back around the top of the twine tie and press firmly. Continue to glue in a line along the front of the bound twigs. Repeat the process of securing the fringe under the last twine tie.
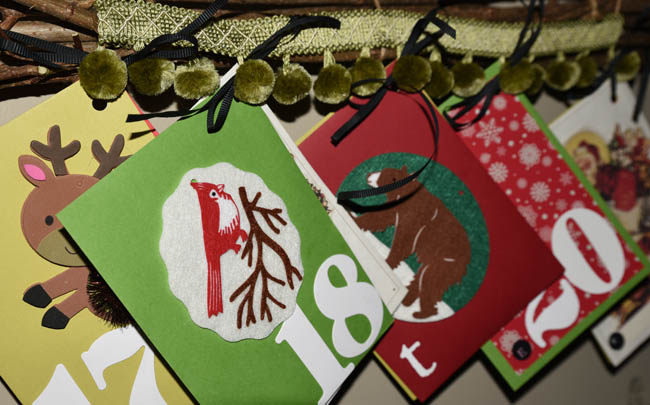 Thread ribbon through two envelopes at a time, and tie in a bow around a pom pom. Repeat down the line of the twigs.
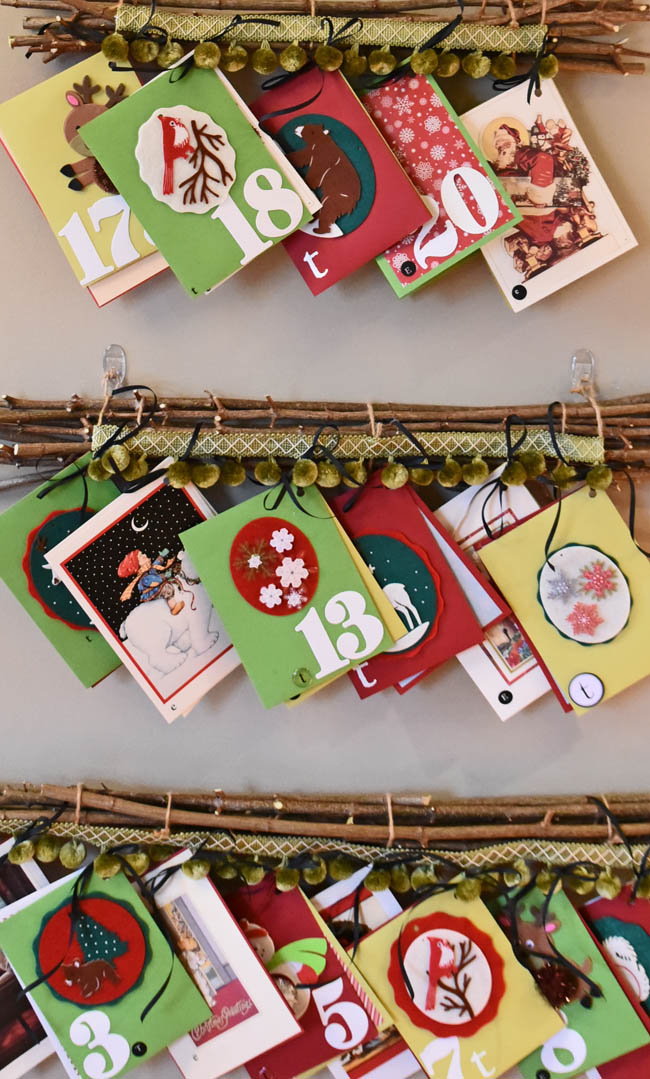
On the end of each bundle of twigs, tie a second, smaller loop around the twine that binds the bundle, to use for hanging the arrangement on the Command hook. Once you have one end hung, position the other. The twigs work nicely for this, as the organic shape allows for some wiggle room so that you don’t have to worry about it being perfectly level when hanging.
Reality Check. I have yet to use those 3M Command hooks and not end up removing paint from the wall. Usually in the middle of the project, as with this one, when I positioned a hook incorrectly and decided to remove it just moments after sticking it on the wall. DIY projects which result in larger, not as fun DIY projects (repainting) are never ideal. Again today a hook was a little off and I decided to roll the dice and try removal again (plus, I figured as long as we have to touch up one area of paint, what’s another?!), but with one small change. I read the directions. Turns out, if you hold the hook in place while pulling down on the strip, it really does remove cleanly. Who knew? Besides the people that wrote…and read…the instructions.